Unless you are one of the many who struggle to get it down, joint rolling might seem like a fairly easy task. Still, it is understandable it can be time consuming and complicated to roll a joint yourself. The truth is that, as much as we like to see ourselves master this fine art, it takes skills.
Fortunately, there is a much simpler way that will ensure that you get a flawless joint every time: using a joint rolling machine. They are affordable, efficient, and they really do work well. For this reason, it is the ideal accessory for smokers to speed up the process.
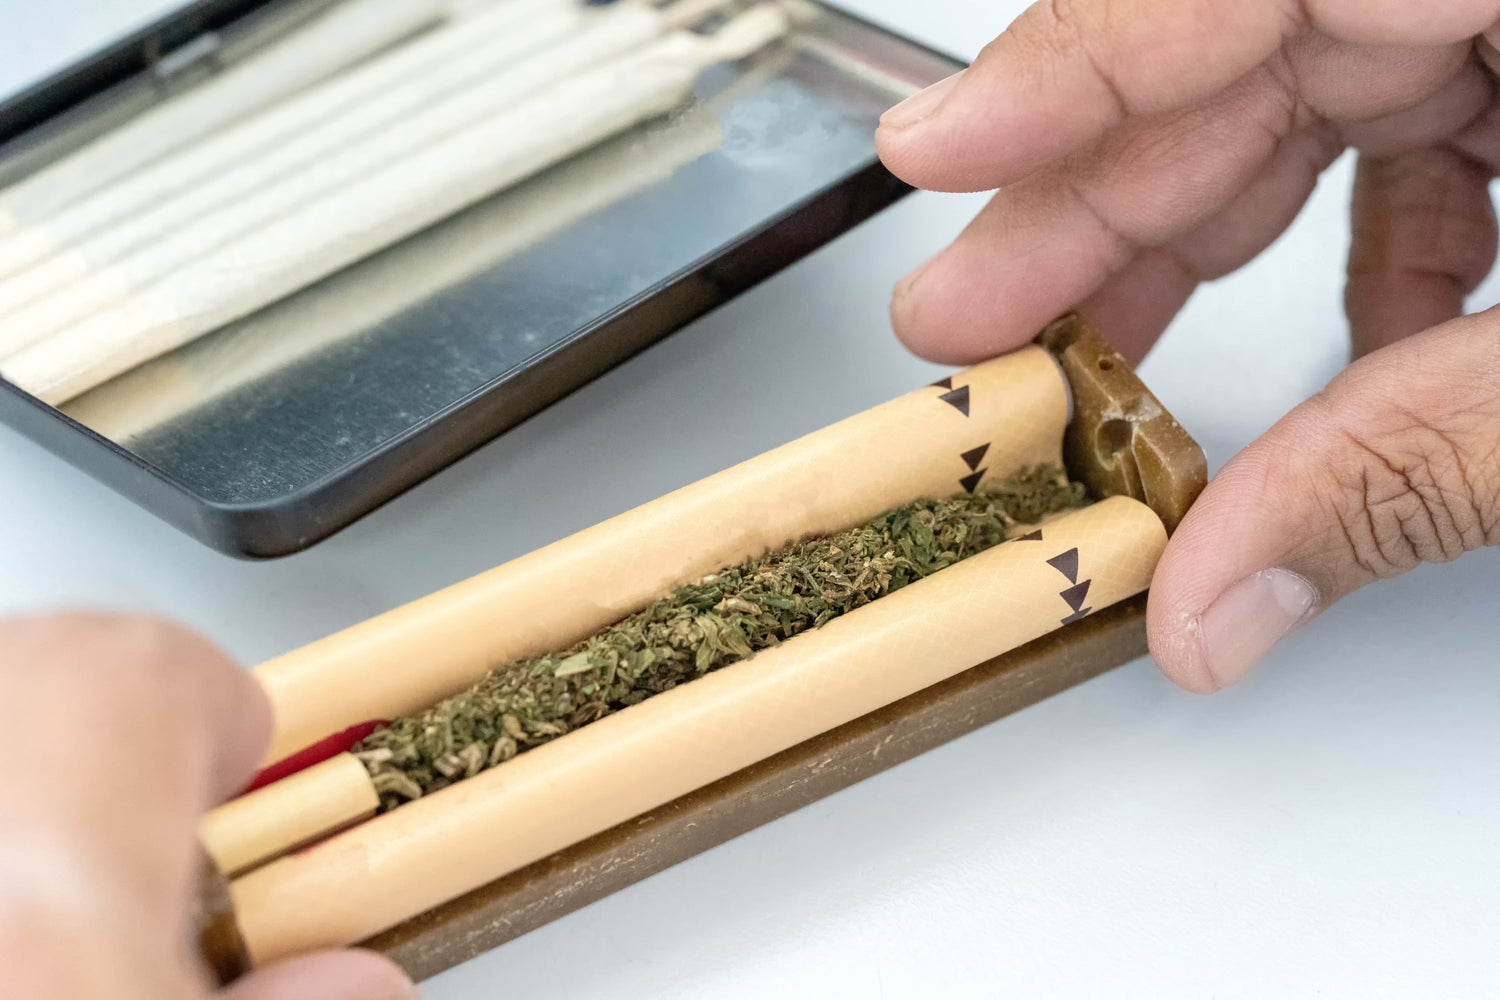
If you are looking how to fix one, you probably already own a joint roller. In this guide, we will be talking about a basic joint roller made of two wheels and an apron. Luckily, you will be able to have your joint rolling machine as good as new when you finish reading.
How to Fix a Joint Roller
Maintaining a joint roller is not hard at all. To fix and change the apron, you need to follow simple steps. It will require a little bit of brute force as these rollers are built sturdy so they last and resist whatever potentially damaging factor they are exposed to.
First, when you grab your joint roller, notice one of the sides has two notches and the other side is normal. Use those notches to pop out the wheels of the roller, pulling down the apron and pulling up one wheel at the time, slightly bending the plastic towards you. Do the same with the second wheel to take the whole assembly out.
Next, slide out your wheels off and bring the new apron, then put the wheels back in. For this, you just need to repeat the process with the only difference being that you will place the wheels where there are no notches first and then end push the wheel right back into their place where the notch is. If it is necessary, stretch the plastic carefully. Now, you have successfully fixed your joint roller.
However, what if it is an adjustable joint roller? This one has an additional piece that changes a big part of what is said above. Moreover, it can be complex to fix a joint roller of this kind.
For the adjustable roller, you do the same: pop off the wheels. Still, it doesn’t come off like a regular joint roller, and that is because of the extra piece that allows you to pick how fat or wide you want your joint to be.
Take off the wheels and pull down the apron where the handle’s side is. Turn the handle so it fits through the spot there is inside. Line it up so it can go through the hole and then, on the opposite side where the handle is, you will see the clamp. This is what you will push down against a hard surface to help you take it off at the same time the handle is lined with the hole. When you hear the sound, it should push that small pin though the hole.
The assembly is able to come out so you can change the apron. Grab the new one, open it and put it back exactly how the old one was. Slide the handle through it, line the clamp with the hole, and push it. You are going to reverse the process once more. Push against a hard surface, but this time not the pin but the handle, to attach the clamp back into its place.
Last, insert the wheels just like described earlier. Put it in the hole, then line it up with the notch stretching the roller open mildly and finally push it down so it fits correctly. The same goes with the second wheel.
That would be it! Instead of buying a new joint roller everytime it wears off, change the apron. After doing it two or three times, it becomes natural to do it. Carry a couple and store them somewhere in case it is time for maintenance to save money and time.
1 comment
When should you change the sleeve on the weed roller it it is not torn is there a time to change it